


Removing the background from photos is a time-consuming task, especially when background images have a lot of complexity or you have to work with the subject’s hair or fur. Here, BAZAphoto will help you overcome it with just a few simple steps in Photoshop
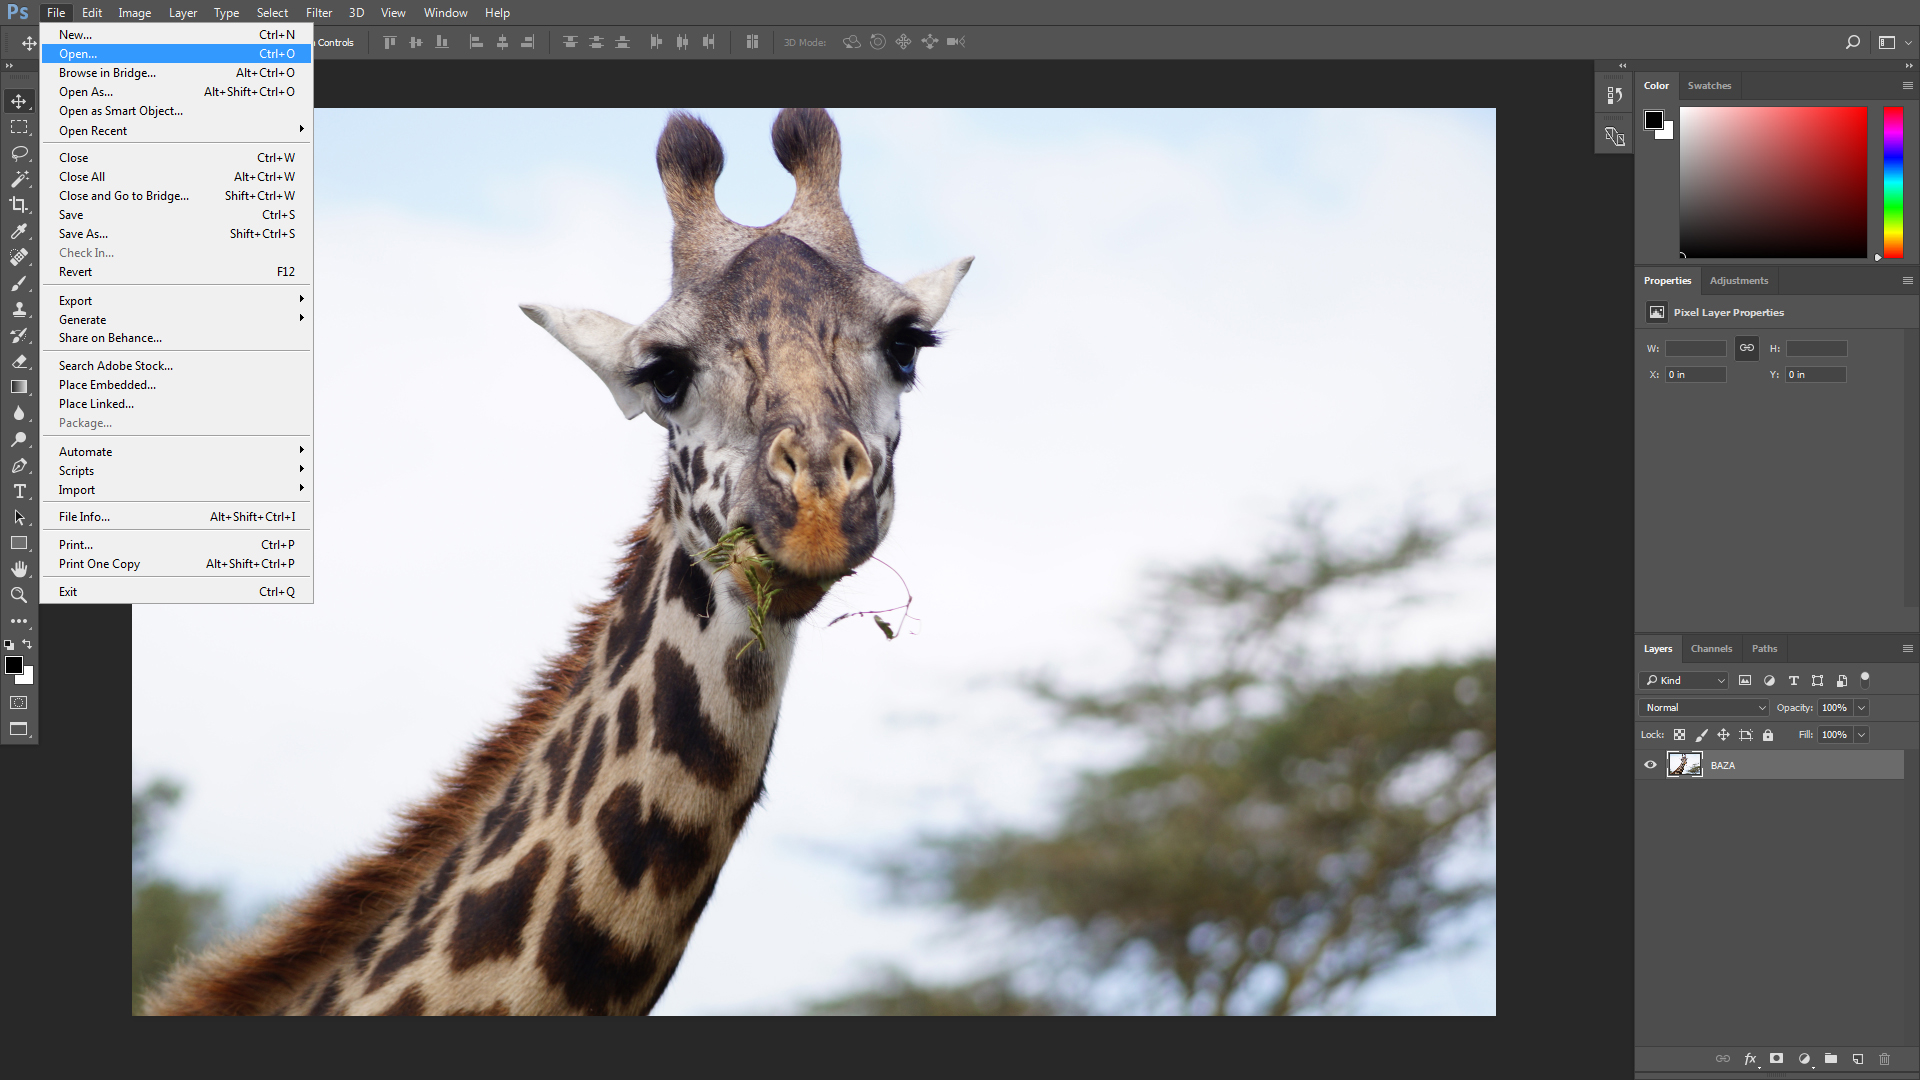
Step 1: open image in photoshop by choosing Open (Ctrl + O) or drug and drop.
Step 2: Create a selection. There are many tools for you to create a selection but the simplest is the Quick Selection Tool and the Magic Wand Tool. In addition, the Lasso Tool delivers higher accuracy but will take longer.
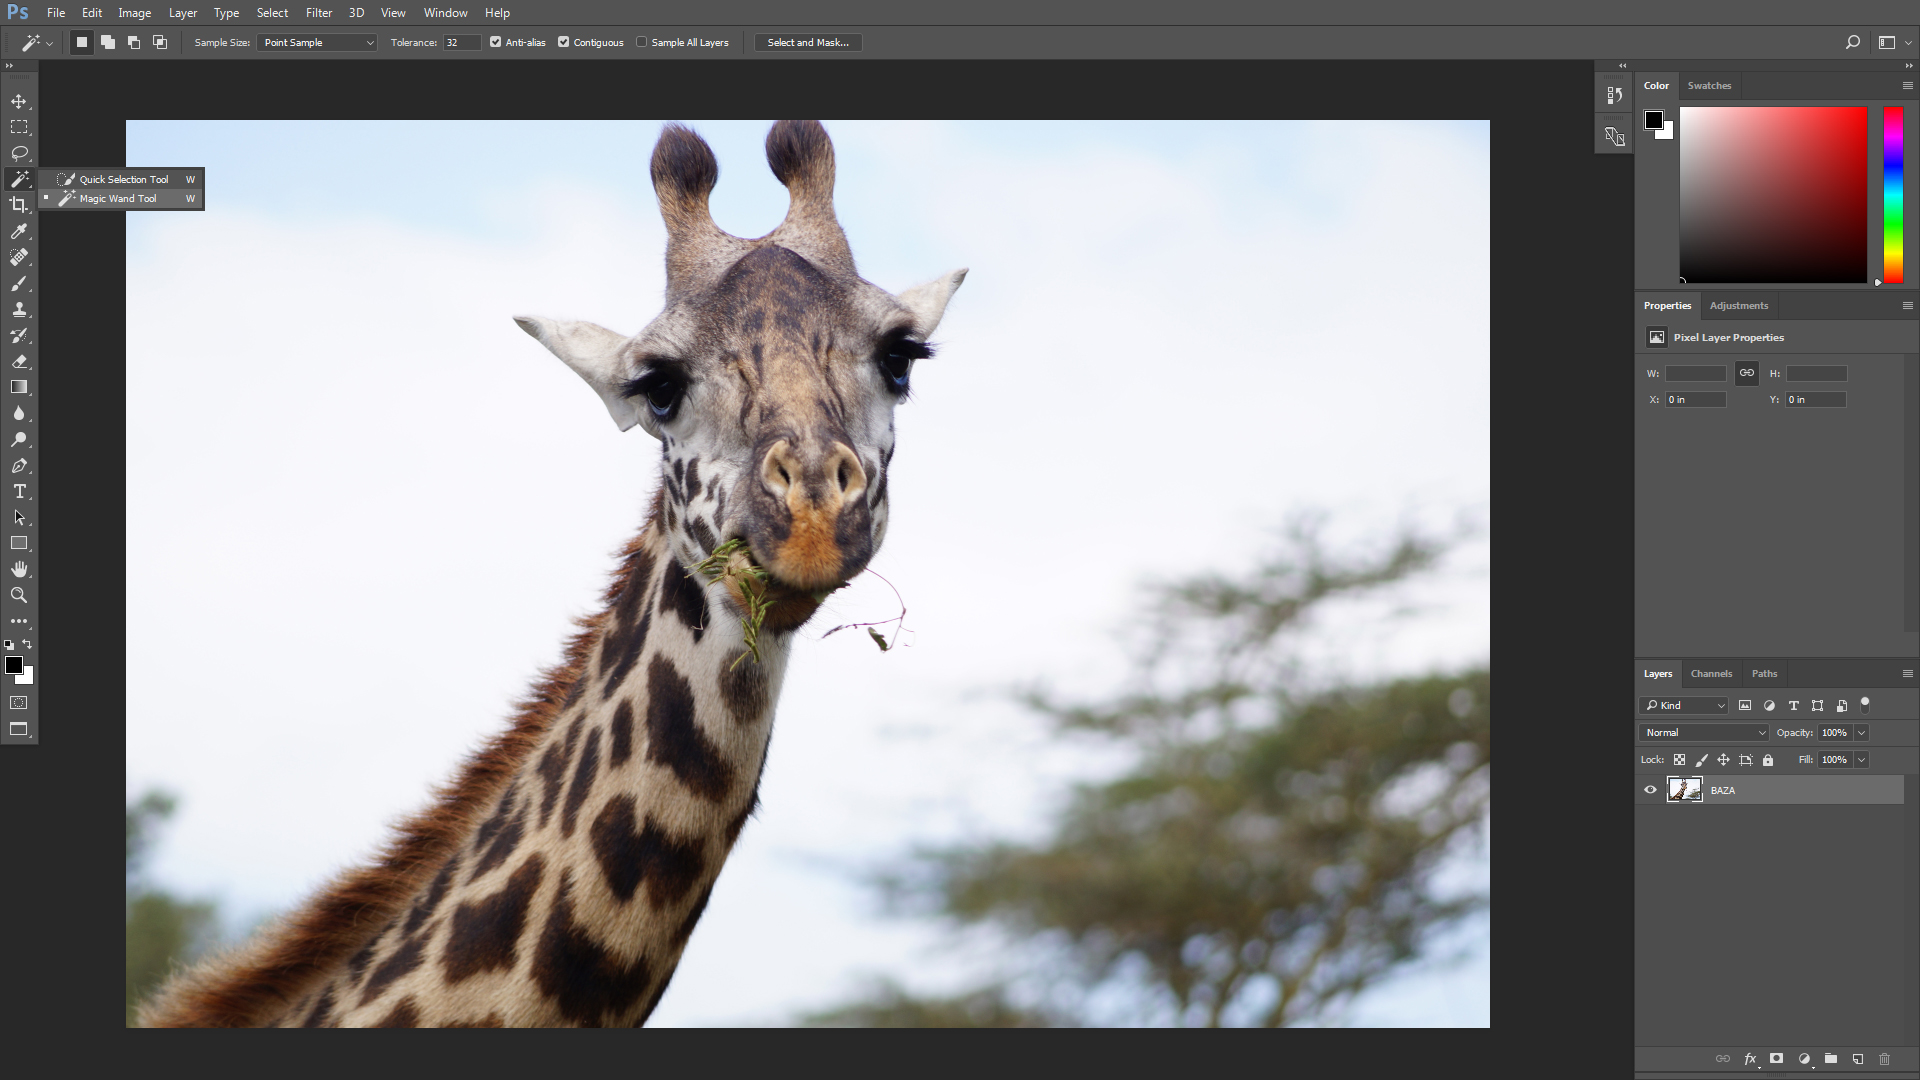
Quick Selection Tool: Use the selection tool with a ‘+’ with the Shift key, then select the area of the background image you want to remove and drag around to expand the selection.If unfortunately the subject selection, you can click and hold down the Alt key to select the tool with the ‘-‘ sign, which removes the selection. Click Shift to return to the selection tool.
Magic Wand: This tool is suitable for less detailed selections. After selecting Magic Wand, click on a spot on the wallpaper you want to remove. If you click on the image below, you can increase the Tolerance to 10 or 15. To add a selection, just hold Shift. To remove the selection, hold down the Alt key and click.
Lasso Tool: With this tool, select the subject you want to split using the Polygonal Lasso Tool. Click along the points around the subject until you create a closed path. Remember that the more points you click, the more accurate the selection. Once selected, double-click to make the subject either a selection or click on the first point when you see a small circle next to the mouse pointer.
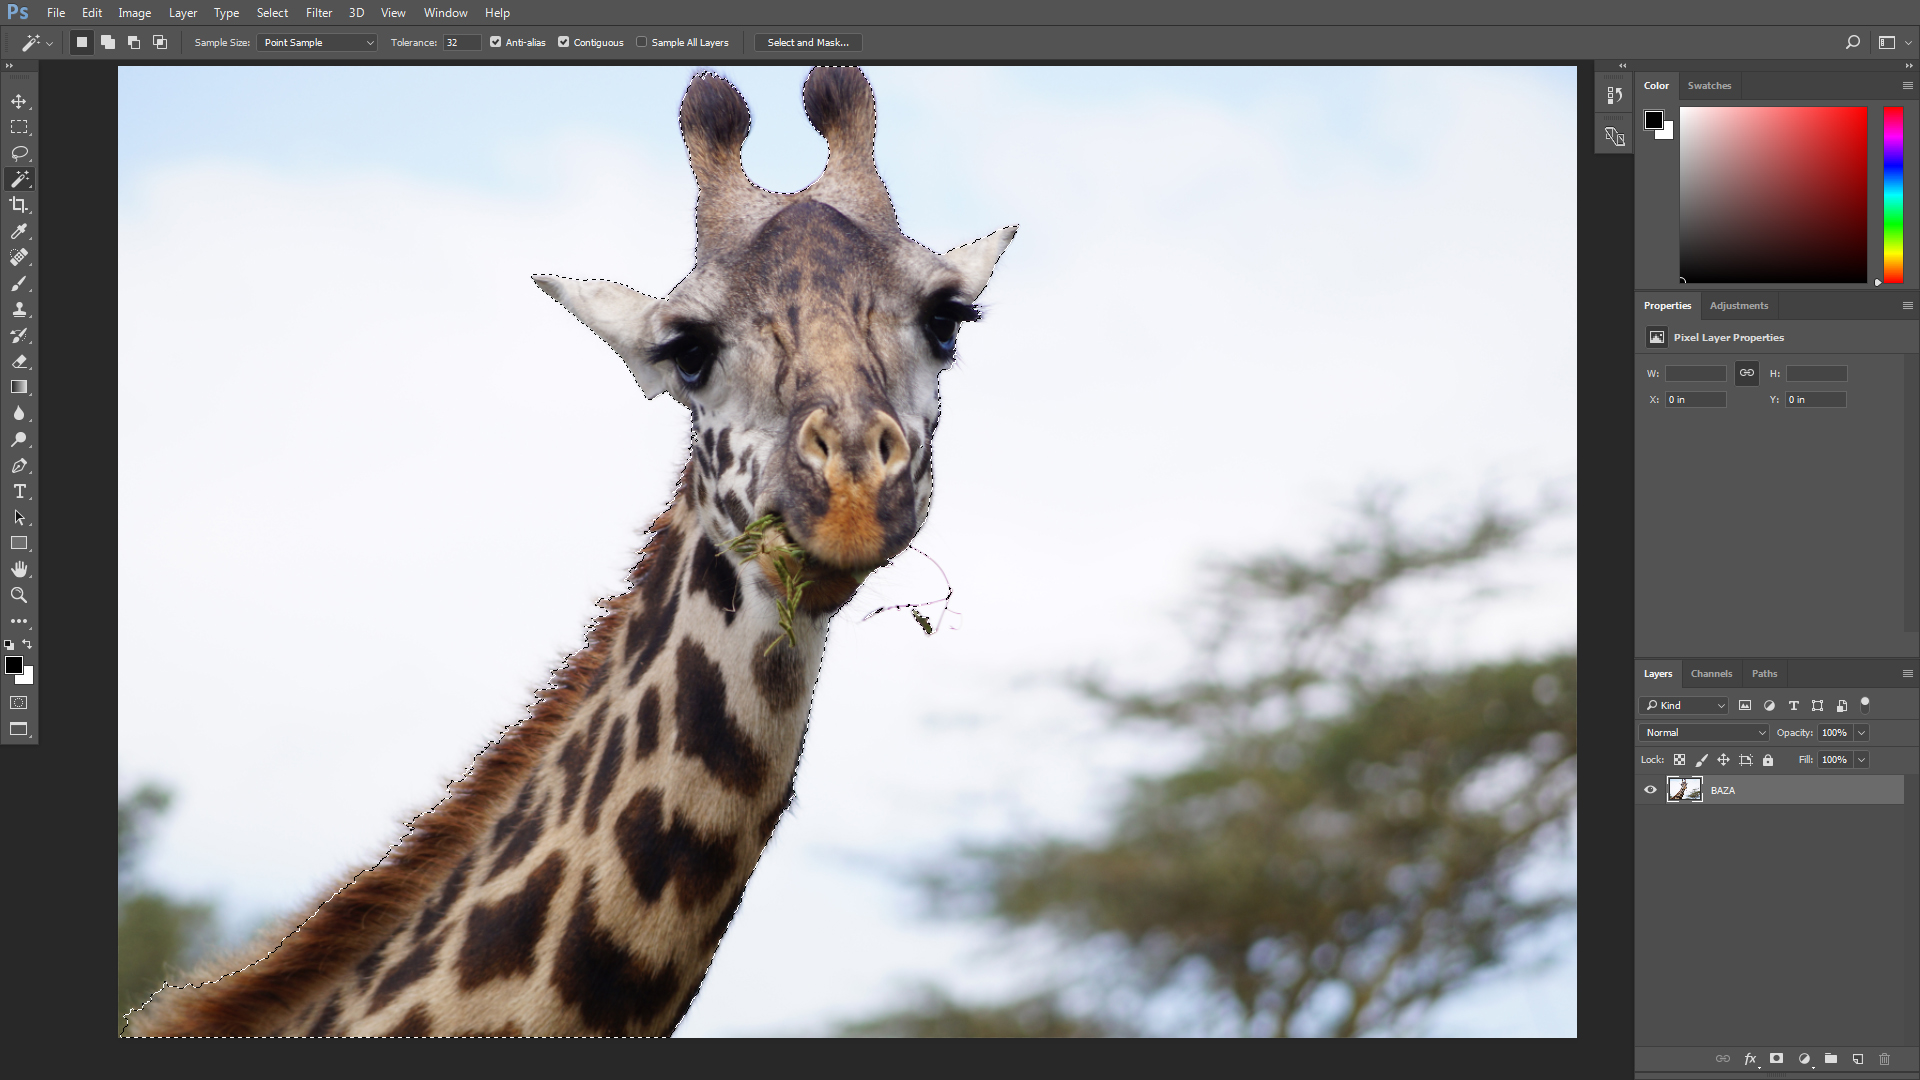
Step 3: If using Quick Selection or Magic Wand to select the background area, you just right click, then select Select Inverse to select the subject and continue to fine-tune. If you have used the Lasso Tool, you can move to the next step
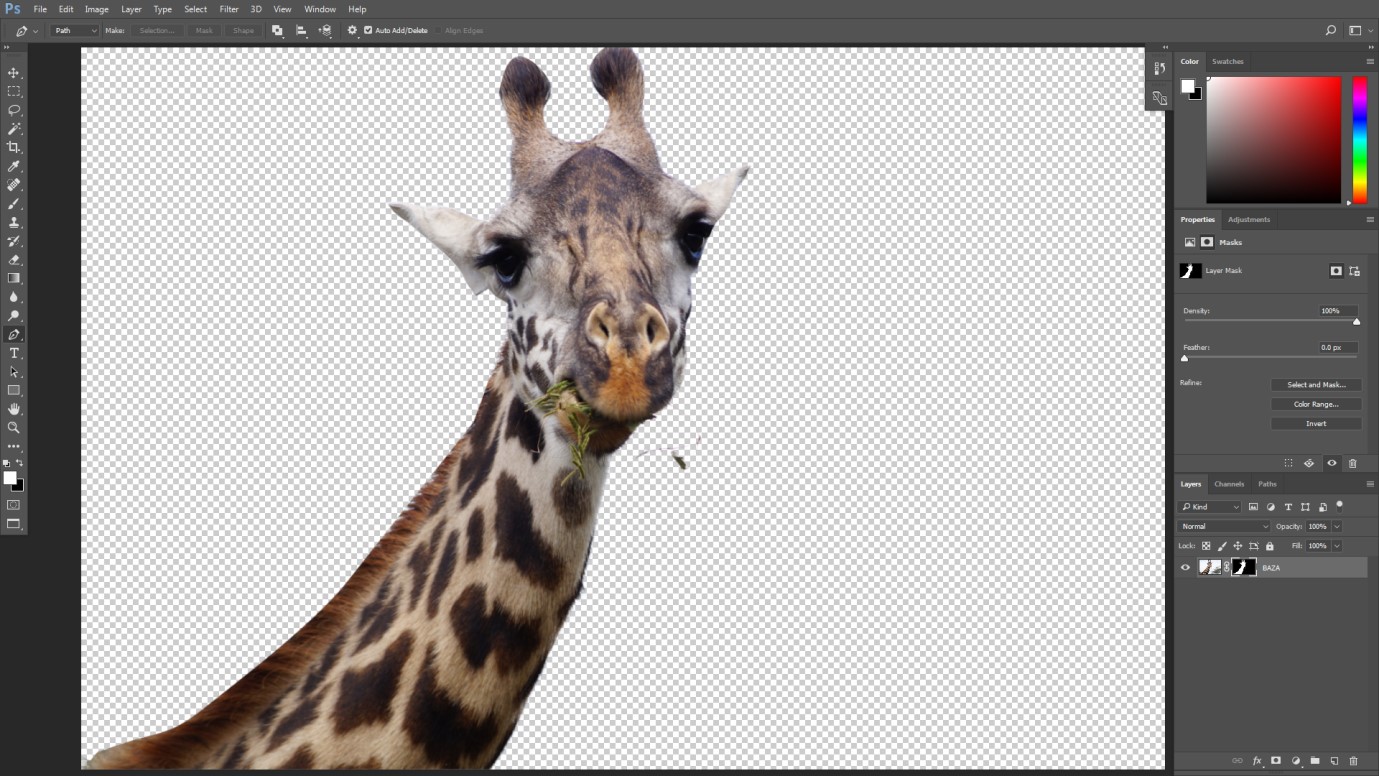
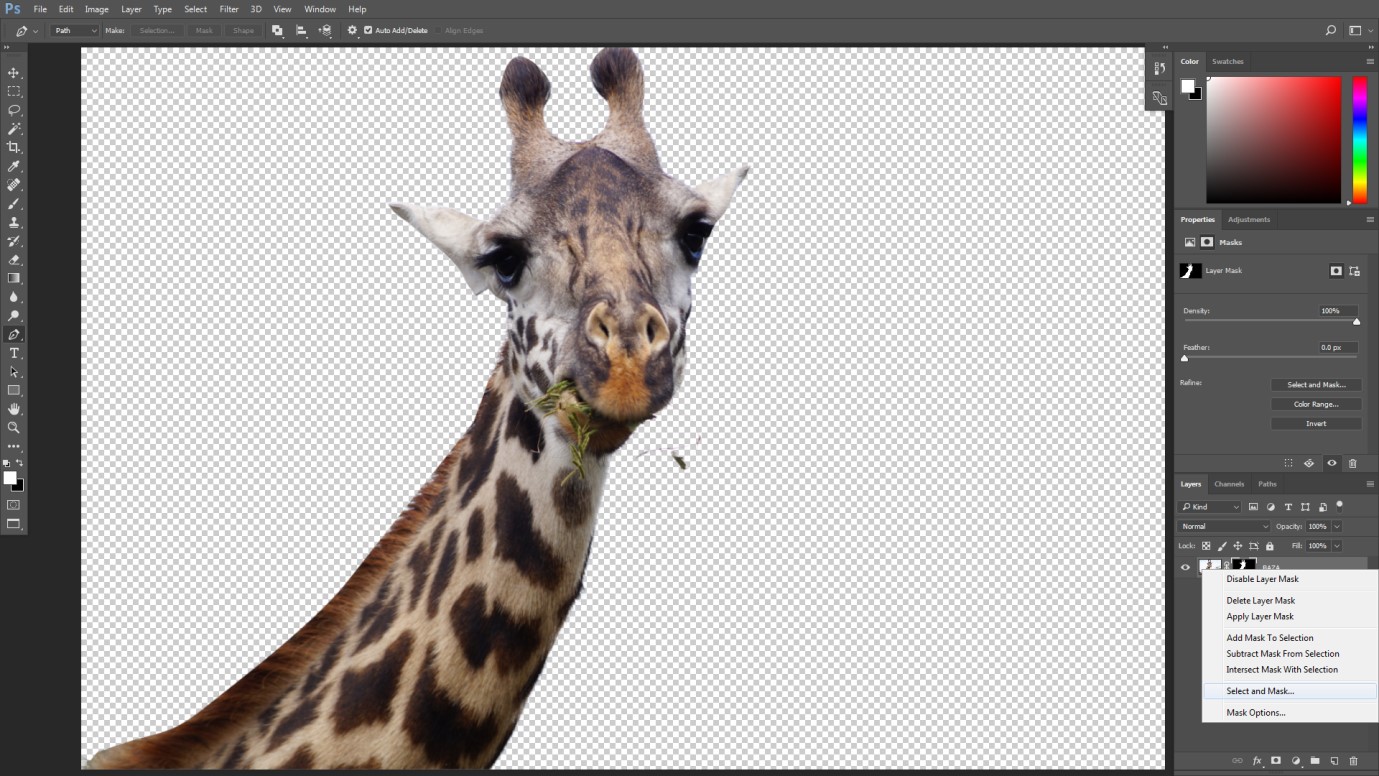
Step 4: Select the Add Layer Mask underneath the Layers palette (the rectangle icon has a black circle in the middle). There will be only the main subject on your picture. Do not worry if the image is not standard because we will refine it.
Step 5: Double click on the mask (black and white next to the preview image) on the Layers panel and select Select and Mask. The Refine Masks window will appear. Select Radius and customize the Radius parameter on the slider. When hovering around the image, you’ll see a circle with a small plus sign inside. Use this tool to remove redundant details on the image

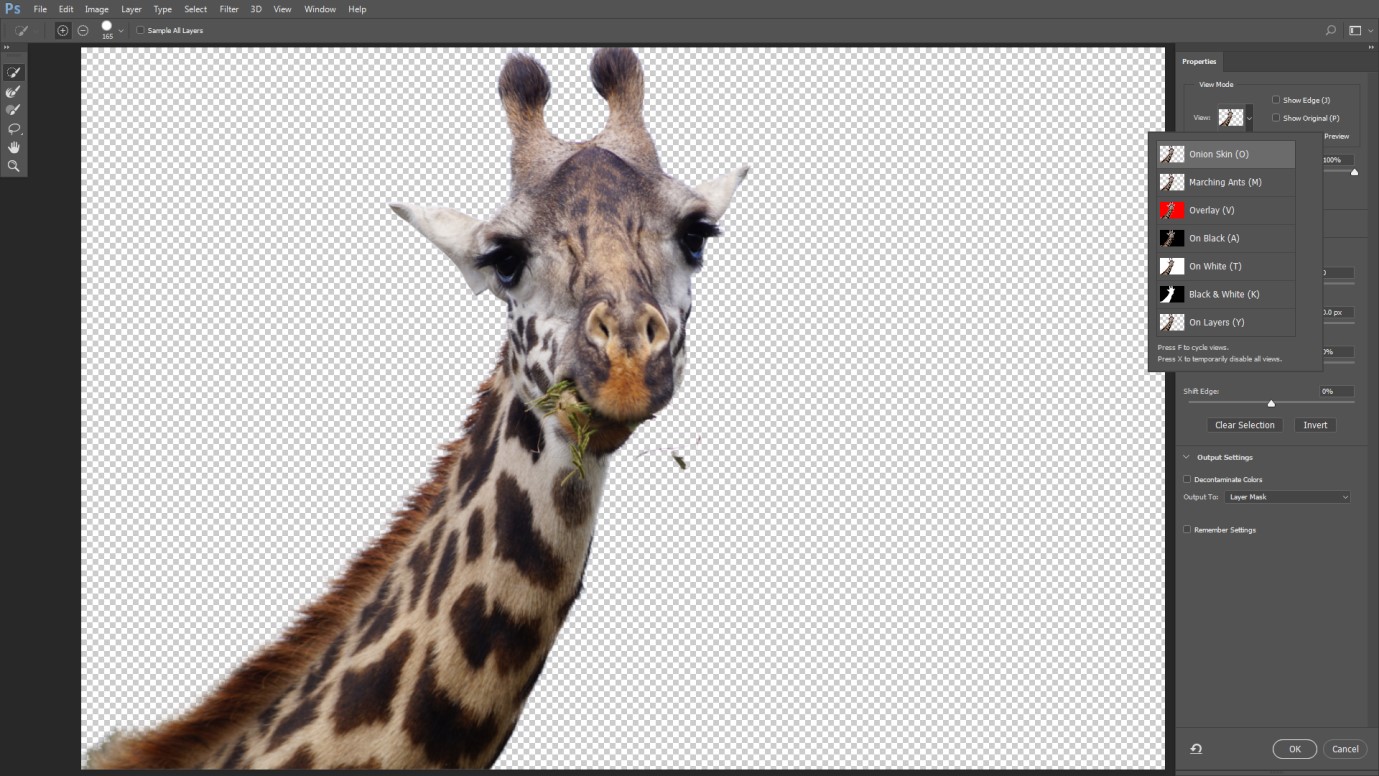
Step 6: Adjust the other parameters using the slider until you reach the desired result. To see the image more clearly, change the view by clicking on the thumbnail icon of the image and selecting the mode in the drop down list.
Step 7: Click OK when satisfied with the picture. Now you can use this image to insert wherever you want. If you need to put the subject in a different background image, simply open the image in PTS and drag it into the image. You can also resize the image with Ctrl / Cmd + T, then hold down Shift while dragging.
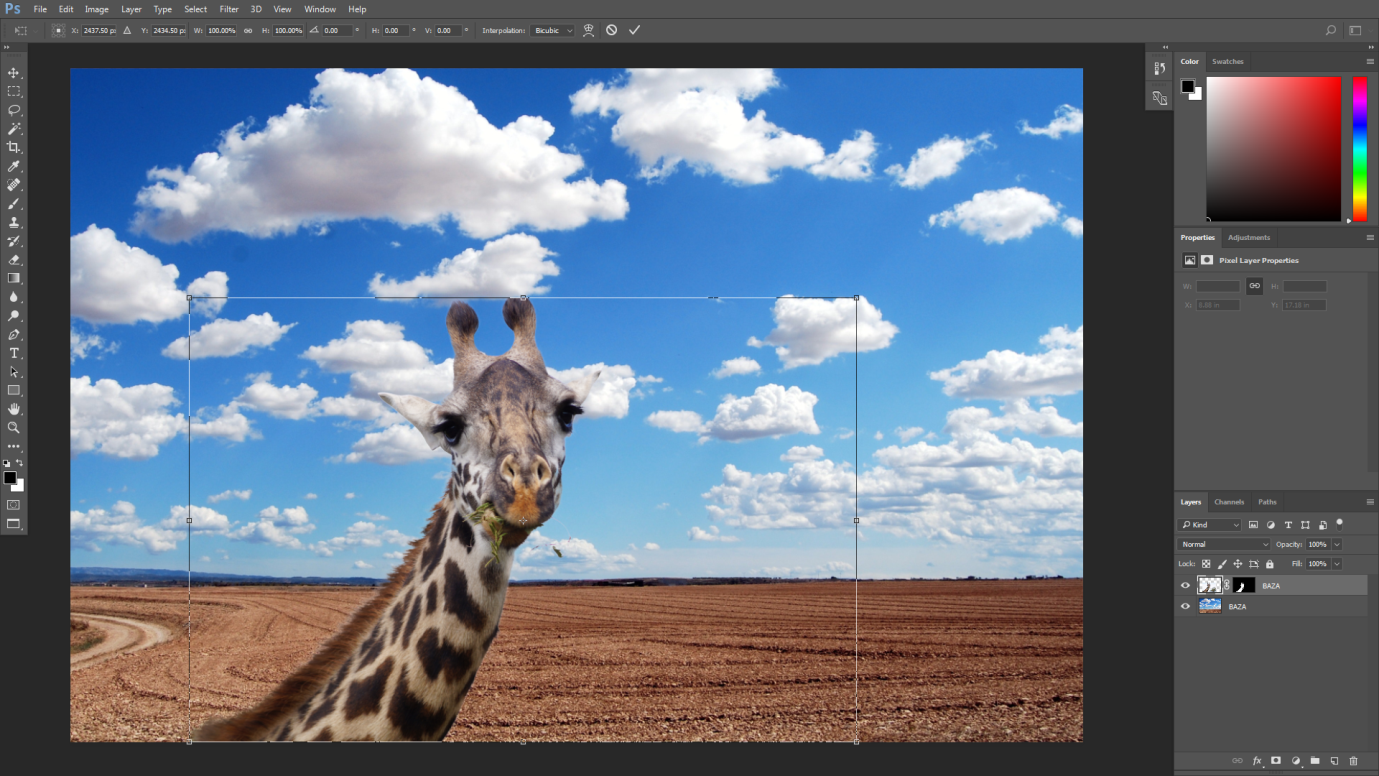
And this is the result.