


Mastering the art of blending and color adjustment in Photoshop can take your photos to the next level. With the right techniques and tools, you can create captivating effects, enhance the mood, and bring out the true beauty of your images. In this post, we will unveil the secrets of blending color in Photoshop to help you achieve stunning results.
What is Blending Colors in Photoshop?

Blending and color grading in Photoshop has long been an integral part of the post-process. Blending colors are the key to creating impressive color effects and focal points. Each blend mode interacts with the underlying layers in a different way, altering colors, contrast, and lighting. Also, color grading helps us balance, enhance, and even change the color to achieve the desired image product.
The Power of Color Blending
Blending colors is not only a combination of colors but also a powerful tool to set the mood and convey personality and story to viewers.
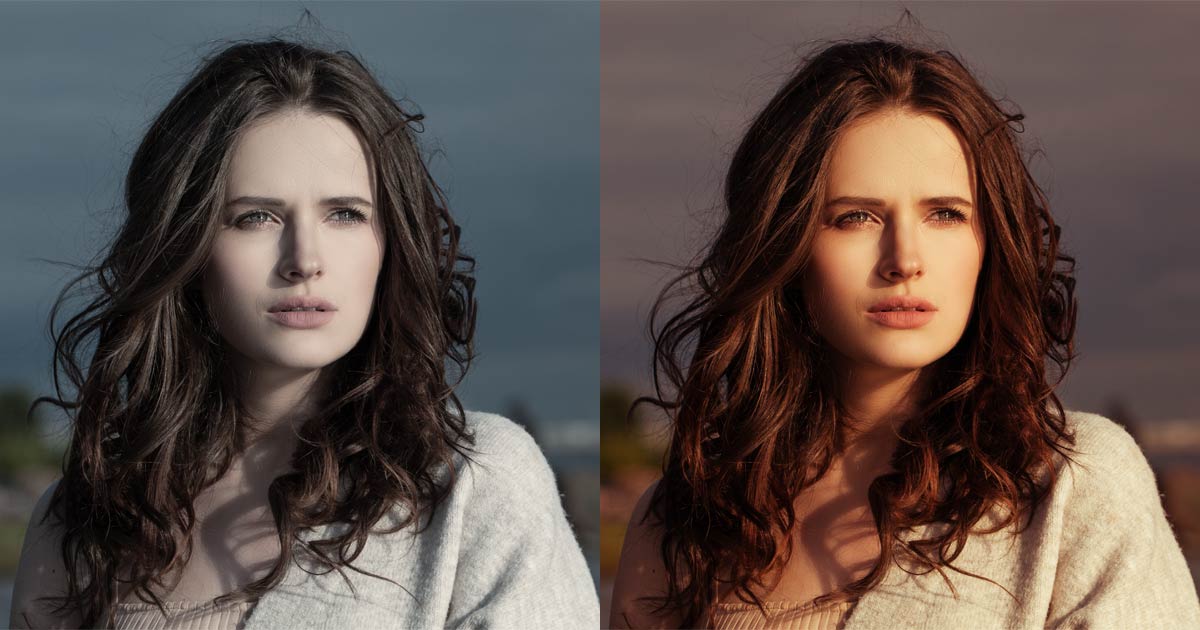
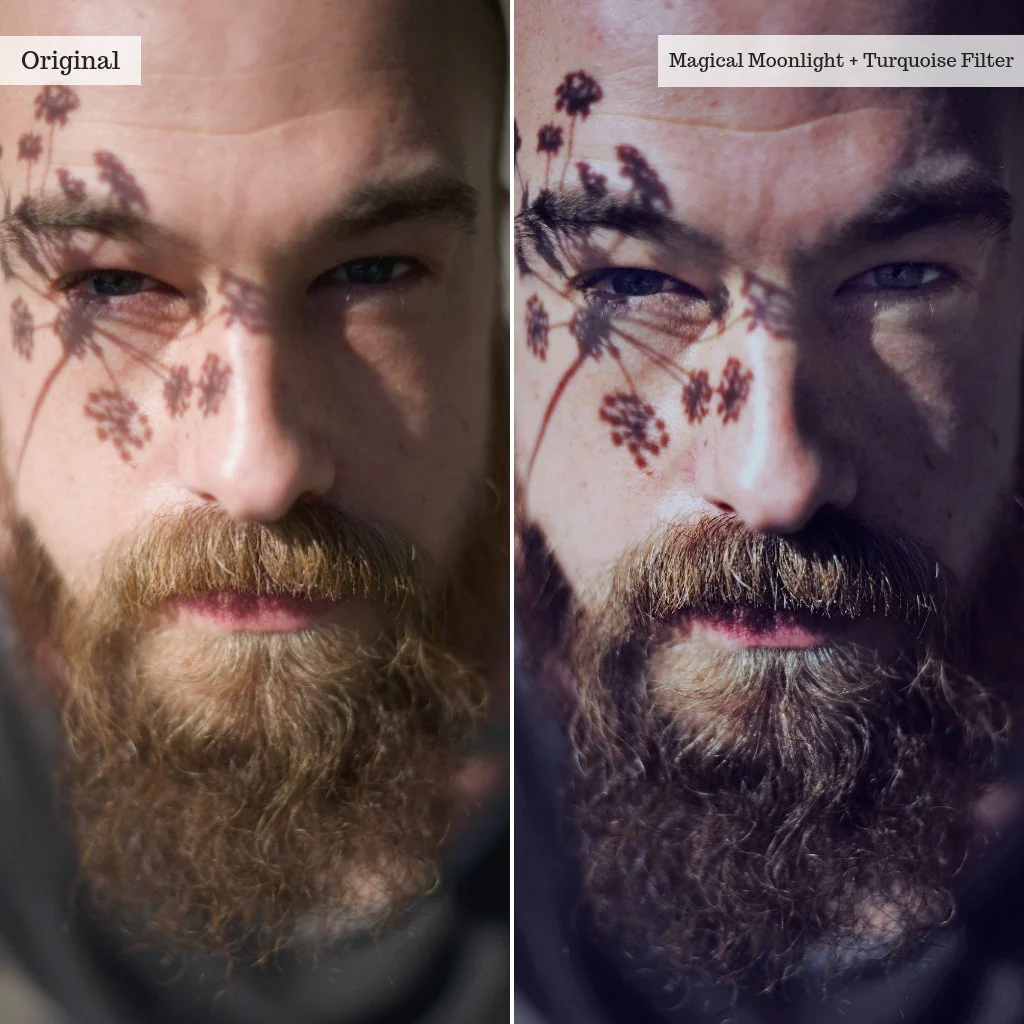
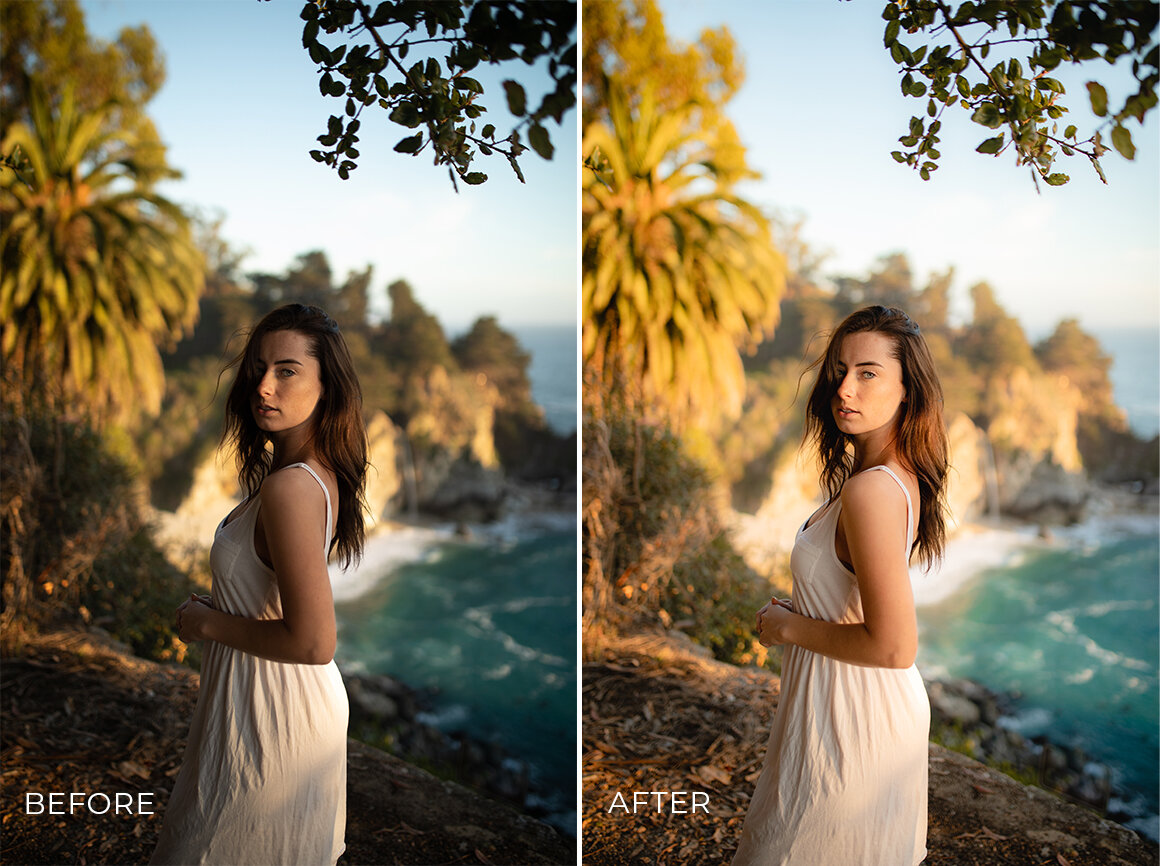
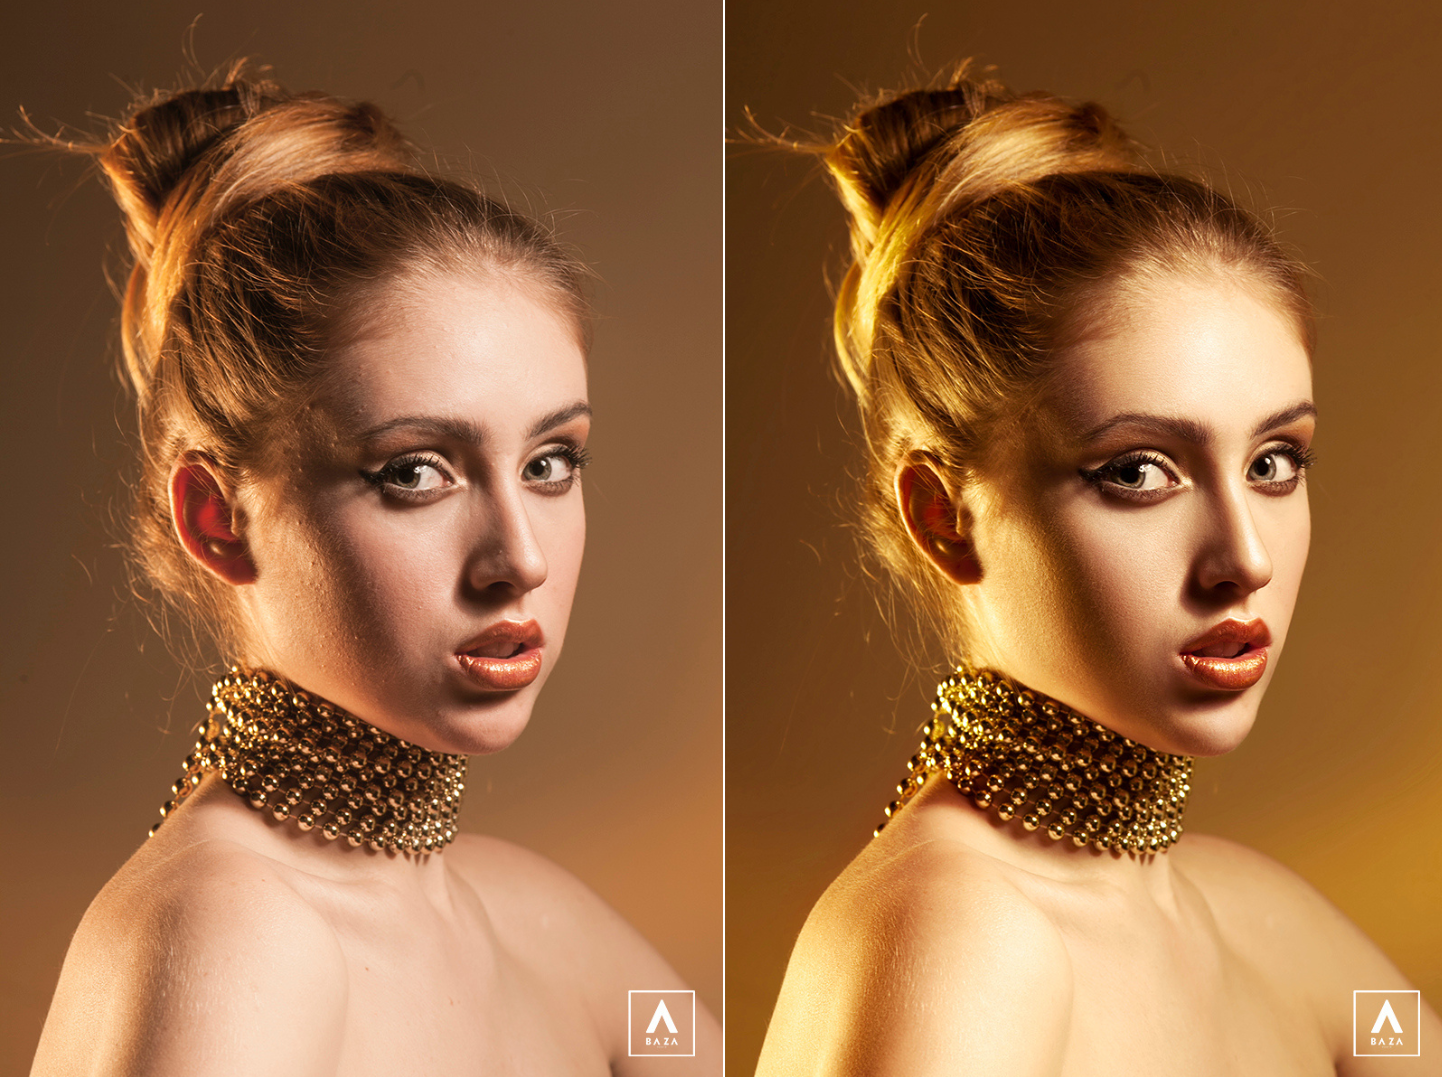
Achieving the perfect color harmony and balance is essential to evoke the desired impact in fashion, portraits, and beauty photography. By blending colors harmoniously, Photo Editors can enhance the overall atmosphere of a photoshoot, convey the personality of a portrait subject, or capture the allure of beauty in a mesmerizing way. The right blend of colors not only can highlight the texture, patterns, and details of the clothing but also amplify the message they want to convey about the person being photographed, telling a unique story through the visual language of color.

Plus, through strategic color blending, Photo Editors can create captivating images that celebrate the beauty and individuality of the subjects. Soft pastels or ethereal tones may enhance a sense of delicacy and femininity, while bold and vibrant colors can exude confidence and glamor.
Popular Color Blend Modes
- Multiply: Multiply the color values of the top layer with the color values of the underlying layers, resulting in a darker and more saturated blend.
- Color Burn: Darken the underlying layers, creating a vivid and often glowing effect.
- Screen: Produce a lighter blend by inverting the color values of the underlying layers and then multiplying them with the color values of the top layer.
- Overlay: Combine the effects of both Multiply and Screen. It darkens the underlying layers where the top layer is dark and lightens them where the top layer is light.
- Soft Light: Add a soft glow or diffused light effect to the underlying layers based on the tonal values of the top layer.
- Hard Light: Increase contrast and produce a more intense blend by either multiplying or screening the colors based on the brightness values of the top layer.
- Color Dodge: Brighten the underlying layers, creating a vivid and often glowing effect.
- Hue: Replace the hue of the underlying layers with the hue of the top layer while preserving the original luminosity and saturation.
- Saturation: Apply the saturation of the top layer to the underlying layers while preserving the original hue and luminosity.
- Color: Blend the hue and saturation of the top layer with the luminosity of the underlying layers.
These are just a few of the popular color blend modes available in Photoshop. Each blend mode offers unique possibilities for creating interesting and creative color blending effects in your images.
How to Blend Colors in Photoshop
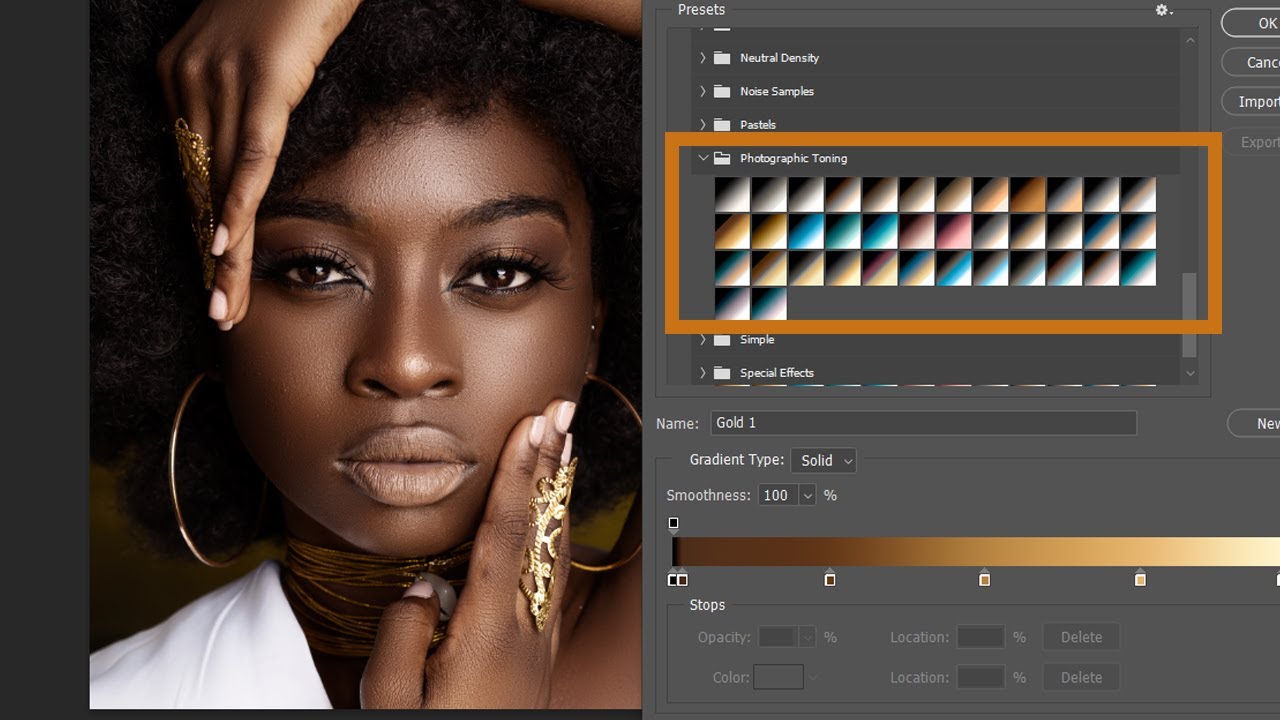
Blending colors in Photoshop can be achieved using various tools, including the Photo Filter and Gradient tool. Here’s a step-by-step guide on how to blend colors using these tools:
With the Photo Filter:
- Step 1: Open your image in Photoshop
- Step 2: From the Menu bar, go to “Image” > “Adjustments” > “Photo Filter.”
- Step 3: In the Photo Filter dialog box, you will find a list of different filter colors and effects. You can choose a preset filter or customize the color by clicking on the color swatch and adjusting the color parameters.
- Step 4: As you select a color and adjust the parameters, you will see the color blending effect directly on your image. Use the Opacity slider to control the strength of the effect.
With the Gradient Tool:
- Step 1: Create a new layer on top of your image by clicking on the “New Layer” icon at the bottom right corner of the Photoshop interface.
- Step 2: Select the Gradient Tool from the toolbar.
- Step 3: In the option bar at the top, choose a gradient preset or create a custom gradient by clicking on the gradient preview.
- Step 4: On your image, click and drag with the Gradient Tool to create a gradient. You can change the direction, angle, and length of the gradient by adjusting the starting and ending points.
- Step 5: Adjust the opacity and blending mode of the gradient layer to control the blending effect.
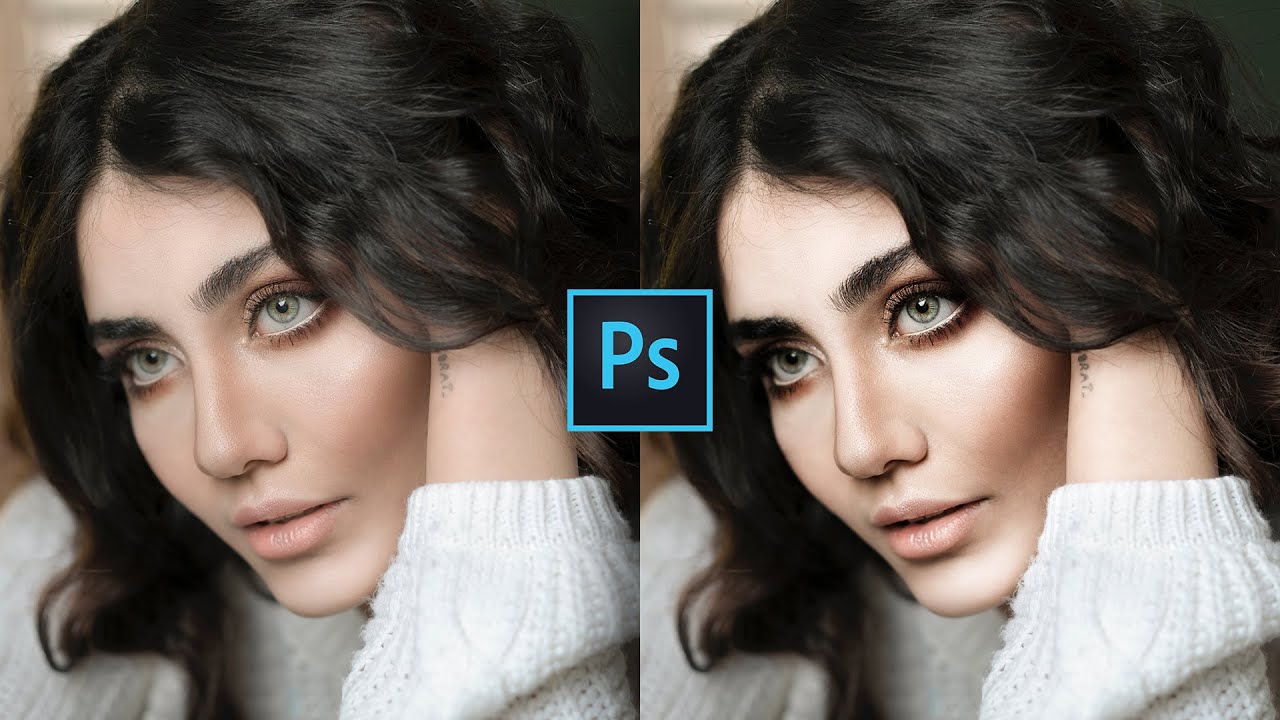
So, with just a few basic steps, you can effectively blend colors in Photoshop and create captivating and visually appealing images!
Some Color Blending Rules to Keep in Mind
When blending colors in Photoshop, you should follow a few basic rules below to ensure the best results.
- Maintain Visual Harmony: Aim for a harmonious color palette that compliments the subject or the overall mood of the image. Avoid clashing or jarring color combinations that can distract from the main focus.
- Consider the Lighting: When blending colors, pay attention to the lighting and the direction of the light in the image. Ensure that the blended colors align with the lighting conditions to create a realistic and cohesive result.
- Balance Color Intensity: Avoid over-saturating or oversaturating certain colors in the blend. Strive for a balanced distribution of color intensity to prevent any single color from overpowering the overall composition.
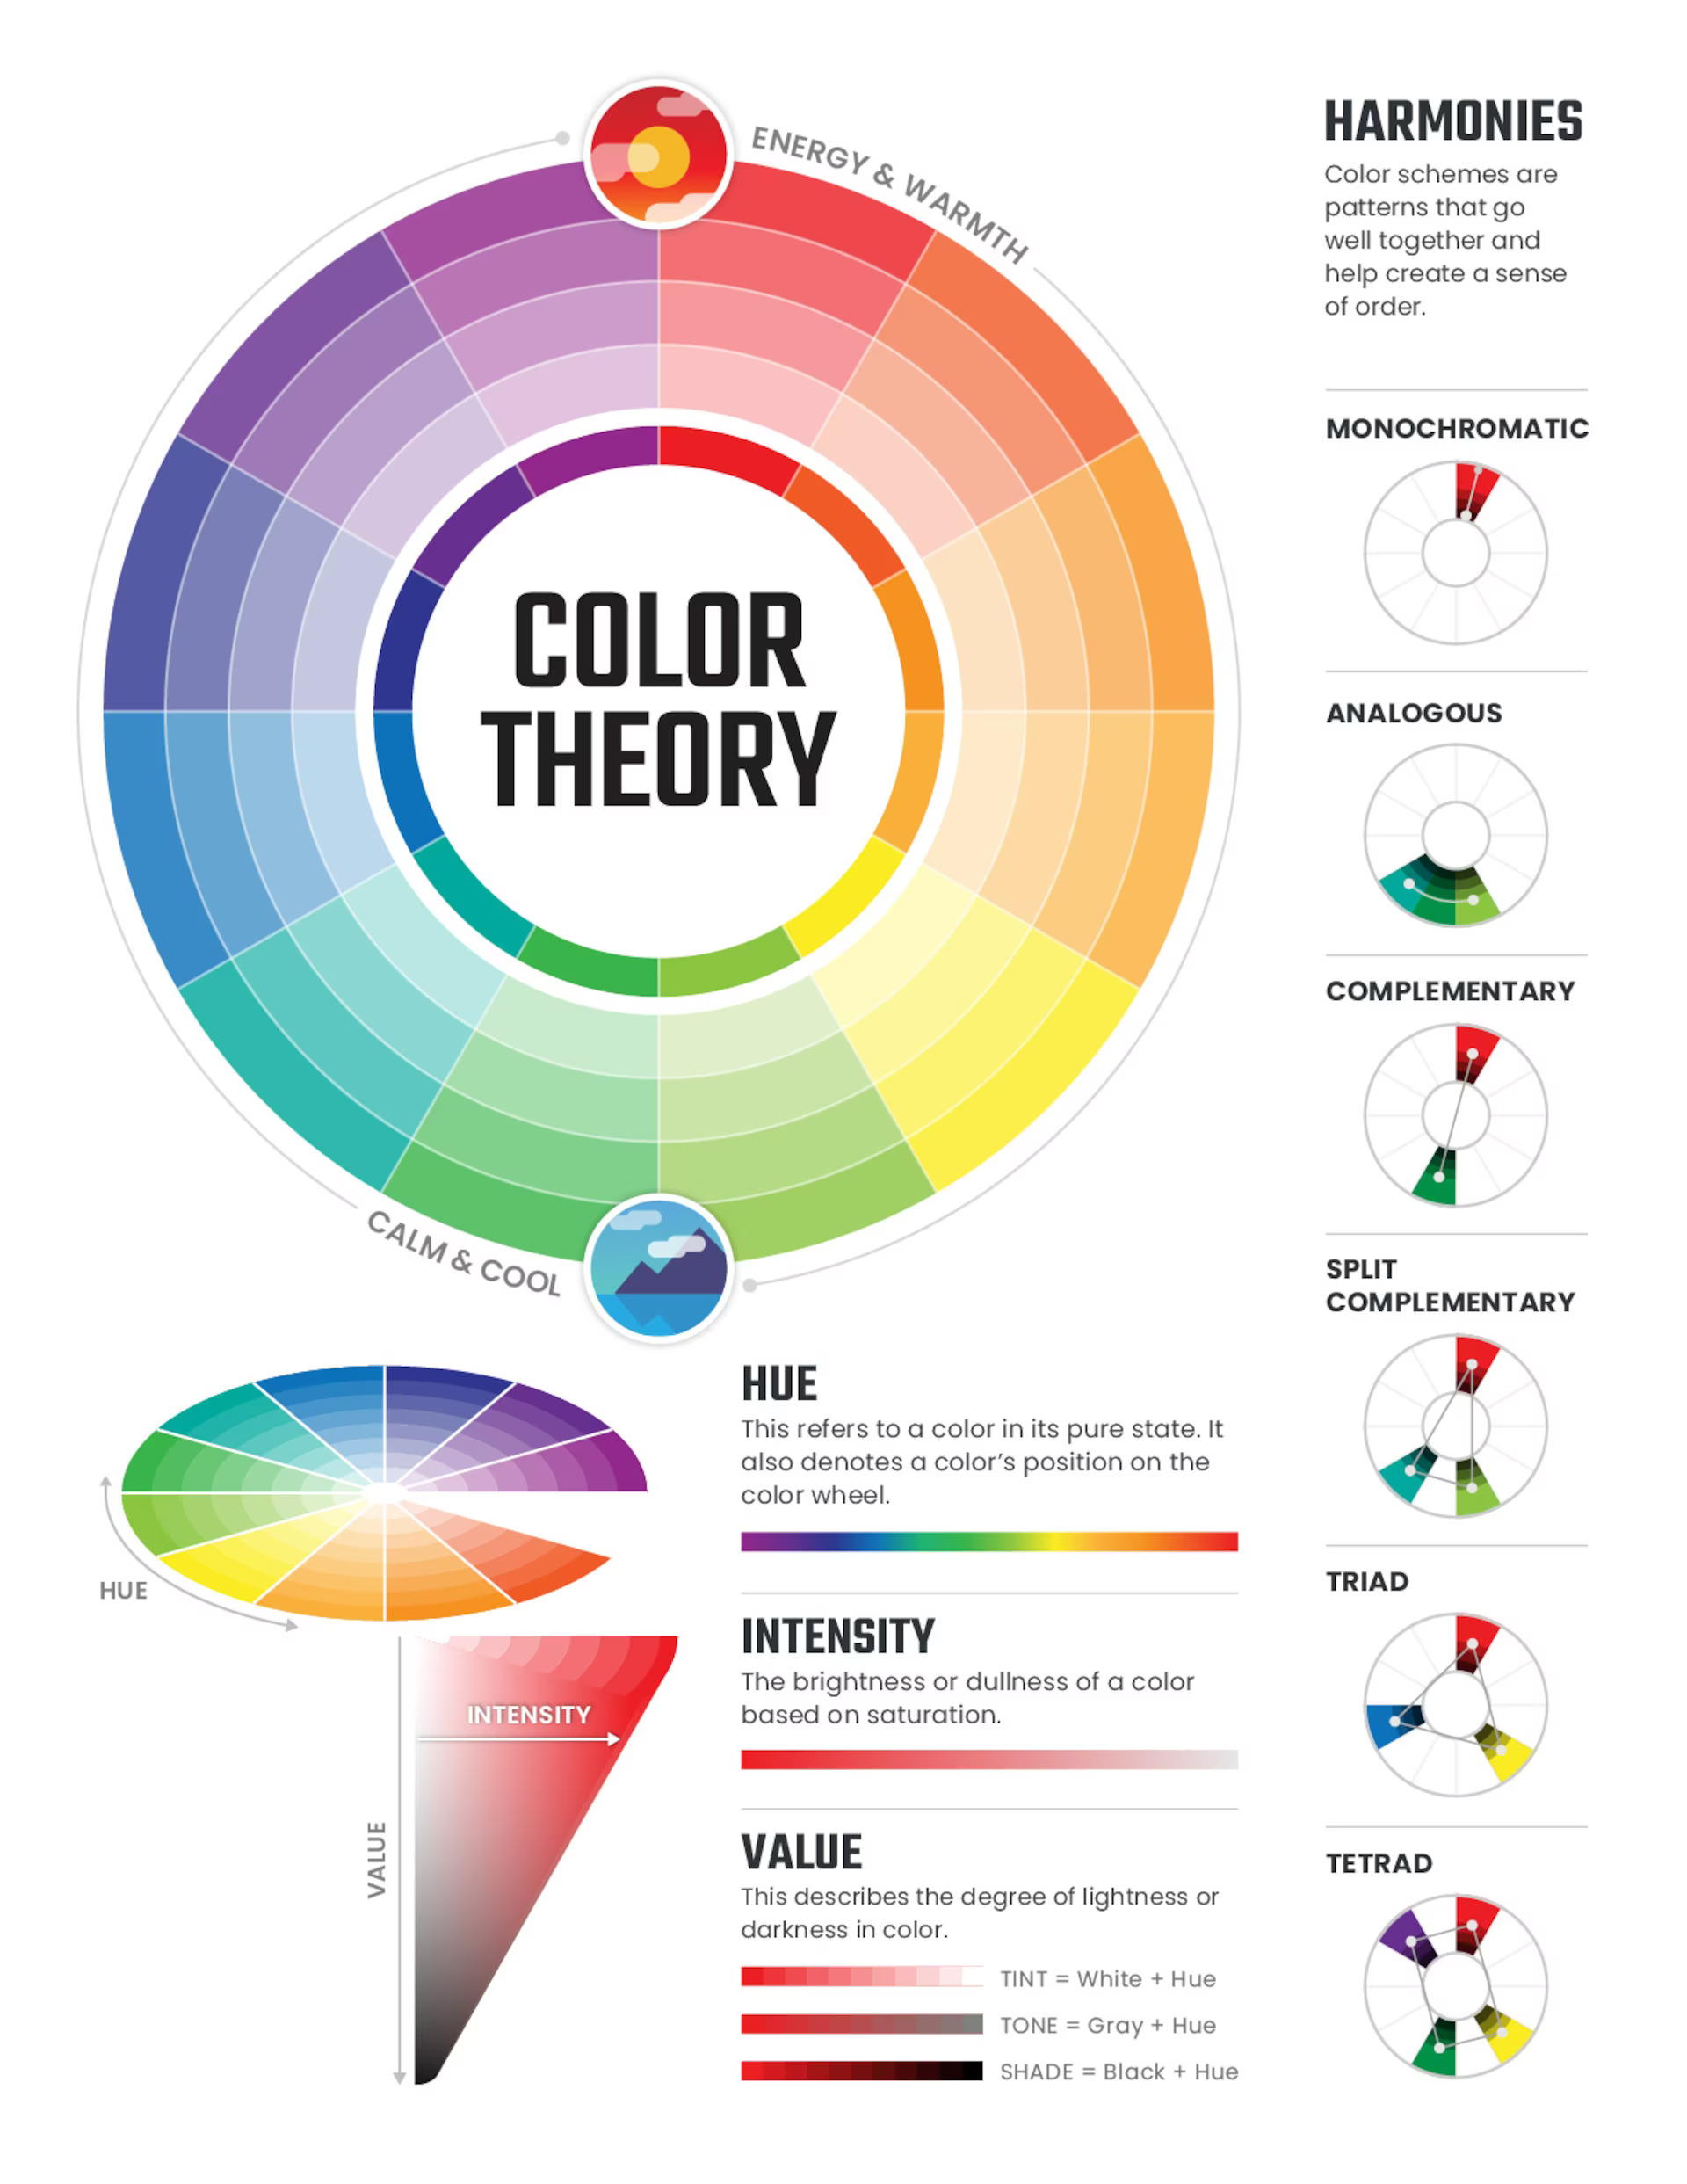
- Use Color Theory: Familiarize yourself with basic color theory principles to create effective blends. Consider complementary colors (opposite on the color wheel) for vibrant contrasts, analogous colors (adjacent on the color wheel) for harmonious blends, or monochromatic colors (variations of a single hue) for subtle tonal variations.
- Pay Attention to Layer Order: The order of the layers in Photoshop affects the blending outcome. Experiment with rearranging the layers to achieve the desired color interactions and ensure that the intended colors are blending correctly.
- Blend with Layer Masks: Utilize layer masks to refine the blending effect. By painting on the layer mask with black or white, you can selectively reveal or hide parts of the blend, achieving precise and controlled color transitions.
- Use Adjustment Layers for Fine-Tuning: Fine-tune the color blending by using adjustment layers such as Curves, Hue/ Saturation, or Color Balance. These adjustment layers provide additional control over specific color channels or overall color balance without permanently altering the original image.
To Wrap Up
In the realm of photography, the importance of color blending cannot be overstated. Skillful color personality techniques enable you to create stunning images that resonate with viewers and evoke emotions. By understanding the significance of color and mastering the art of blending, Photo Editors can elevate their work, bringing their artistic vision to life and leaving an indelible mark in the world of visual storytelling.
Whether you’re a professional photographer or an amateur enthusiast, BAZA Photo provides the perfect services to showcase your artistic flair and elevate your photos to a whole new level. Unlock the true potential of your images and captivate your audience with the fine-tune photo editing capabilities of BAZA Photo.
Don’t settle for ordinary. Unleash your creativity and transform your photos into works of art with BAZA Photo. Contact us today and experience the power of fine-tune photo editing like never before.